Outdoor sprinkler system on the fritz with summer around the corner? Here are seven tips and tricks for fixing it yourself and when to call the pros.
Assess and Adjust Sprinkler Heads
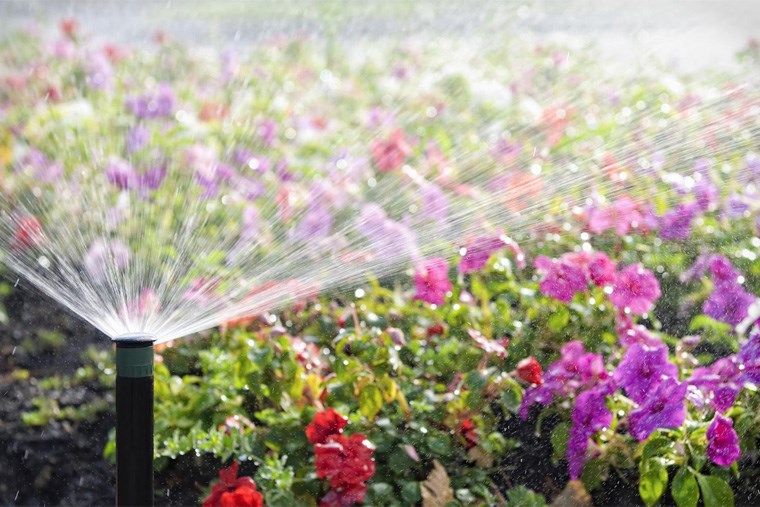
The first clue to any sprinkler system problem is usually a sprinkler head that’s not performing optimally. Maybe it won’t raise or lower, it’s spraying unevenly, or it’s not spraying the correct area of your lawn. Follow a few quick steps to assess and adjust these faulty sprinkler heads.
- First things first, turn off the water to your sprinkler system.
- Determine if the sprinkler head just needs to be cleaned or if it’s broken. If you notice it’s clogged with dirt or dead grass and leaves, you can remove the head, disassemble it, and clean it with water. If the sprinkler head is cracked or seems to be missing a part, move on to “Replace a Sprinkler Head.”
- Check to see if the spray head or rotator is sitting too low in the ground. If so, move on to “Replace a Sprinkler Head.”
- Make sure the spray of water is hitting the area of lawn and garden that it needs to and isn’t watering your sidewalk or driveway. If the sprinkler head needs adjustment, you should follow the instructions for your specific model of sprinkler heads to rotate them manually or use the built-in mechanism for adjustment.
Replace a Sprinkler Head
If your sprinkler head is broken or not working correctly, it’s time to replace it. Try to purchase another sprinkler head of the same make and model to ensure it fits perfectly back into your sprinkler setup. Dig a hole around the faulty sprinkler head and locate the riser where it attaches to the irrigation line. Then simply unscrew the broken sprinkler head from the connector and screw on the new one. Finally, turn the water back on and test that zone to ensure your new sprinkler head is working properly.
Check Backflow Valve
Valves open and close to control how much water goes to your sprinklers, and the backflow valve is the one that stops water from going back into the mainline. Make sure your system is getting adequate water supply, and not too much, by slowly turning the water valves on the backflow all the way on - open them slowly so that you don’t let the water rush into the pipes all at once.
 georgeclerk via gettyimages.com
Check Zone Valves
When your sprinkler system is divided into different zones, there are valves for each one. A broken or leaky valve can cause water to pool up around the sprinkler heads in that zone. You should be able to replace old, broken, and leaky zone valves by cutting out the old ones and replacing them with the same model. (Note that pooling water from a leaky valve is different from water briefly pooling around the sprinkler heads in low areas of your yard. Low head drainage is normal and can be addressed with special sprinkler heads that are taller than normal.)
Fix Sprinkler Pipes
Locate a leak by searching out the soaked area of the lawn. Probe into that area with a shovel to expose the irrigation pipe. If you’ve come across a broken or damaged piece of pipe, you can cut out that section of pipe with a PVC cutting tool and replace it with a new pipe. PVC primer and PVC cement are available at your local hardware stores to connect the new section of pipe to the existing system.
Check the Zones
If just one zone isn’t coming on, it may be time to call an electrician as it could mean the voltage is too low. However, it may also be caused by a faulty solenoid. Replacing a faulty solenoid is as simple as turning the controller off, disconnecting the wires, and unscrewing the old solenoid. Then screw in the new solenoid and reconnect the wires.
Check the Controller
Determine if your controller is not working at all, or if it is simply not able to turn on certain zones. If it is not turning on multiple zones or is completely nonfunctional, you may need to replace the transformer.
Many common sprinkler issues can be fixed quickly and easily by you, the homeowner. These tips should give you the confidence to figure out what needs adjustment or repair and what will require the assistance of a professional.

This story was made possible by our Community Partners Program. Thank you NWR Painting Inc. for helping to expand local news coverage in the Bow Valley. Learn more.


